Drawing a computer may seem like a challenging task, especially with all the intricate details and specific shapes that are involved. However, with the right guidance and a bit of patience, you can create a stunning illustration of a computer that looks realistic and detailed. In this step-by-step guide, we will walk you through the process of drawing a computer, from the basic shapes to the final touches. So, grab your drawing supplies and let’s get started!
Materials Needed:
Before we begin, make sure you have the following materials ready:
– Drawing paper
– Pencil
– Eraser
– Ruler
– Fine-tip markers or pens
– Colored pencils or markers (optional)
Step 1: Sketch the Basic Shapes
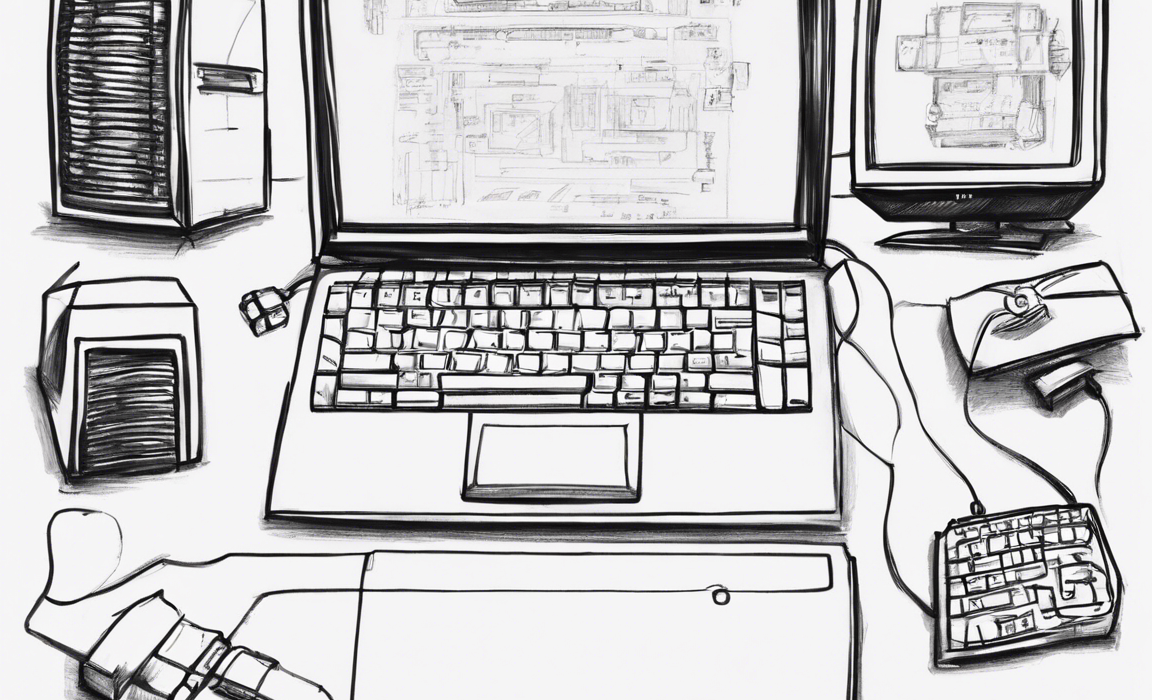
Start by sketching the basic shapes of the computer components. Use your pencil lightly so that you can easily erase any mistakes. Begin with a rectangular shape for the monitor screen. Then, draw a larger rectangle beneath it for the computer tower. Next, sketch a smaller rectangle on the side for the CD/DVD drive. Finally, add a keyboard in front of the monitor by drawing a long, narrow rectangle with smaller rectangles for the keys.
Step 2: Add Details to the Monitor
Now that you have the basic shapes in place, it’s time to add details to the monitor. Draw a thin rectangle around the screen to represent the bezel. Then, add small squares or circles at the corners of the screen to indicate buttons or control knobs. You can also sketch a stand at the back of the monitor by drawing two straight lines that meet at a point.
Step 3: Outline the Computer Tower
Moving on to the computer tower, use your pencil to outline the shape and add details such as vents, ports, and a power button. Draw small rectangles or squares for the vents and ports, and a larger circle or oval for the power button. Don’t forget to add some texture to the tower by sketching lines or patterns to represent different materials.
Step 4: Detail the CD/DVD Drive
For the CD/DVD drive, draw a thin slot in the center of the rectangle to represent the disk drive. Add a small button or eject mechanism next to the slot. You can also draw some lines or markings on the drive to give it a realistic look.
Step 5: Outline the Keyboard
When drawing the keyboard, start by outlining the overall shape and then add details such as keys, letters, and function buttons. You can use reference images of a real keyboard to make it more accurate. Pay attention to the arrangement of the keys and the spacing between them.
Step 6: Ink the Drawing
Once you are happy with the pencil sketch, go over the outlines with a fine-tip marker or pen. Be careful not to smudge the ink as you work. You can use different line weights to add depth and dimension to your drawing. Allow the ink to dry completely before erasing any remaining pencil marks.
Step 7: Add Color (Optional)
If you want to add color to your computer drawing, now is the time to do so. Use colored pencils or markers to fill in the different components of the computer. You can choose realistic colors or get creative with your color choices. Remember to blend and layer the colors to create a more polished look.
Step 8: Final Touches
To finish off your computer drawing, add any final touches or details that will enhance the overall appearance. This could include shading to create depth, highlighting to add contrast, and additional textures to make the computer look more realistic. Take your time and enjoy the process of bringing your drawing to life.
Frequently Asked Questions (FAQs)
Q1: Can I use a digital drawing software to create a computer illustration?
A1: Yes, you can definitely use digital drawing software like Adobe Illustrator or Procreate to create a computer illustration. These tools offer more flexibility and options for editing and refining your drawing.
Q2: Do I need to have advanced drawing skills to draw a computer?
A2: While having some drawing experience can be helpful, you don’t need advanced skills to draw a computer. This step-by-step guide will walk you through the process, making it accessible to beginners as well.
Q3: How long does it take to draw a computer?
A3: The time it takes to draw a computer can vary depending on your level of experience and the level of detail you want to include. On average, it may take anywhere from 30 minutes to a few hours to complete a computer drawing.
Q4: Can I customize the design of the computer to make it look unique?
A4: Absolutely! Feel free to add your own creative touch to the computer drawing. You can change the colors, add decals or patterns, or even incorporate elements from your imagination to make it stand out.
Q5: What are some tips for improving my drawing skills?
A5: Practice regularly, study different art styles, seek inspiration from other artists, take drawing classes or tutorials, experiment with different techniques and mediums, and don’t be afraid to make mistakes and learn from them.
Drawing a computer can be a fun and rewarding experience, allowing you to explore your creativity and attention to detail. By following this step-by-step guide and incorporating your own personal style, you can create a stunning computer illustration that will impress others and showcase your artistic talent. So, roll up your sleeves, sharpen your pencils, and start drawing your very own computer masterpiece!